How to Dump PS2 BIOS from Your Console (Modded & Unmodded)
Want to get the PS2 BIOS from your console? But don’t know how to do it? You are in the right place.

This guide is for you. This easy-to-follow guide will show you how to dump or copy the BIOS from your PlayStation 2, whether your console is modded or not.
The PlayStation is one of the most excellent and popular gaming systems ever. It is well known for its amazing library of classic games. You can play these games on your computer using compatible emulators; you just need to use your own PS2 BIOS. Trust me, dumping the BIOS is easier than it sounds.
In this guide, we have provided easy steps to safely extract the BIOS from both modded PS2 consoles (like ones with Free McBoot) and unmodded consoles. Together, we will walk through the process by showing you how to transfer the BIOS to your computer.
Why Should You Dump Your PS2 BIOS?
While even your PS2 works fine and the gaming experience is relatively smoother, it’s still worth dumping your BIOS. Here’s why:
1. It’s legal. When you use a BIOS file from your own PS2, you are doing it in a completely legal way for the emulations. This way, it prevents troubles from downloading BIOS files from the internet.
2. Better Emulation Accuracy: Your BIOS file helps the emulator copy the real PS2 environment more closely. Hence, games work how they’re supposed to.
3. Personal Backup: Having your BIOS saved on your computer gives you a backup in case your console ever stops working
4. Improved Game Compatibility: Every PS2 model slightly differs in its BIOS. Using the one from your console ensures games run more smoothly and gives you the best gaming experience.
Pre-Dump Preparations and Safety Measures
Before You Start, Stay Safe and Back Up Your Data. Dumping your PS2 BIOS is relatively easy but involves technical tasks, so taking a few safety steps at the start is recommended. These steps will help you protect your console and files safely.
Back Up Your Saved Games: If your PS2 has essential data or has games saved, you should back them up before you start. This way, you will prevent the risk of losing anything while dumping the files.
Use a Reliable USB Drive: Make sure to use the best quality USB drive that you can trust. If possible, use a brand new USB drive; using an older one can cause serious problems, even corrupting the BIOS file during the transfer.
Follow Every Step Carefully: Do not skip any part; skipping any part can cause mistakes and ultimately cause issues with your console. Go through the guide one step at a time to ensure everything goes smoothly.
Tools and Requirements
Before dumping your PS2 BIOS file, ensure all the tools are ready. No matter whether your PS2 is modded or unmodded, you will need a few important items to complete the BIOS dump.
For Modded PS2 Consoles
If your PS2 has a modchip or uses Free McBoot, you’ll need:
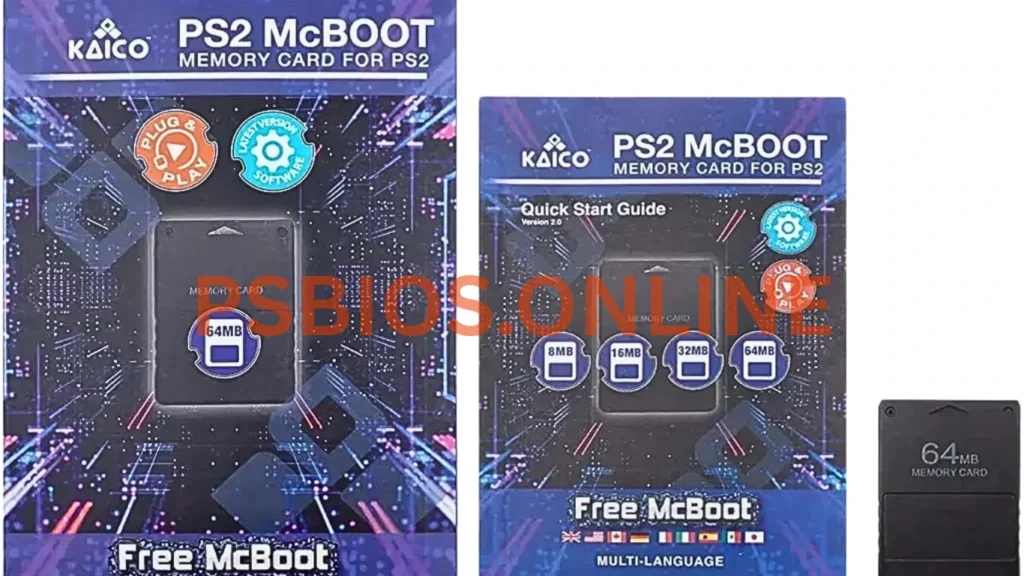
- A memory card with Free McBoot installed (or a modchip).
- A reliable USB flash drive.
- The Free McBoot software.
- uLaunchELF to navigate and manage files on your PS2.
For Unmodded PS2 Consoles
If your PS2 is completely unmodified, gather these items:
- A network adapter for PS2 (for file access).
- A hard drive (optional, but helpful for managing files).
- A standard memory card.
- A reliable USB flash drive.
- The FreeDVDBoot software lets you run unsigned code.
- uLaunchELF to browse and extract BIOS files.
Dumping BIOS from a Modded PS2 Console
Suppose your PlayStation 2 is modded with Free McBoot or a modchip, and you want to dump the PS2 BIOS from the modded console. In that case, this method is for you, as it’s safe, legal and beginner-friendly.
Step 1: Install Free McBoot
1. Download Free McBoot: Get the latest version of Free McBoot from a trusted source.
2. Insert the Memory Card: Plug your Free McBoot-compatible memory card into your PS2.
3. Install Free McBoot: Extract the downloaded ZIP file on your computer. Open the .exe file and follow the instructions to install Free McBoot onto your memory card.

Step 2: Launch uLaunchELF
Navigate the Menu: Use your controller to browse through the file system inside uLaunchELF.
Insert Your USB Drive: Plug your USB flash drive into one of the PS2’s USB ports.
Find the BIOS Files: Go to the folder labelled mc0:/ in uLaunchELF. Look for files named like scphXXXXX.bin—these are your BIOS files.
Copy to USB Drive: Select the BIOS files and copy them to your USB flash drive.
Double-Check the Files: Remove the USB from the PS2 and plug it into your computer. Make sure the BIOS files are there and entirely copied.
Dumping BIOS from an Unmodded PS2 Console
Don’t have a modded PS2? No worries! By following these steps with FreeDVDBoot, you can run homebrew apps like uLaunchELF without changing anything on your console to dump PS2 BIOS files from an unmodded console. Just follow the steps below.
Step 1: Set Up FreeDVDBoot
1. Download the Right ISO: Go online, find and download the FreeDVDBoot ISO that matches your PS2 model. Pick the correct version if you’re using a PS2 Slim.
2. Burn the ISO to a DVD: Use a program like DAEMON Tools to burn the ISO file onto a blank DVD. Ensure the burn completes without any errors; this is important for it to work on your console.
Step 2: Launch uLaunchELF
Insert the DVD and Turn On Your PS2: Place the burnt DVD into your PS2 and power it on. It should boot directly into FreeDVDBoot.
Access uLaunchELF: Once FreeDVDBoot loads, it will automatically launch uLaunchELF.
Step 3: Extract the BIOS
Plug in a USB Drive: Insert your USB flash drive into one of the PS2’s USB ports.
Find the BIOS Files: In uLaunchELF, go to the folder named mc0:/. Look for files that start with scph and end in .bin. These are your BIOS files. (If you’re unsure what to copy, check the modded console section for more details.)
Copy BIOS to USB: Use your controller to select and copy the BIOS files to your USB flash drive.
Confirm the Files: When you’re done, plug the USB into your computer and check that the BIOS files have been copied correctly.
That’s it! congrats!! , You’ve successfully dumped the BIOS from your unmodded PS2, without needing any hardware mods.
Transferring BIOS to Your PC
Once you’ve successfully dumped the BIOS from your PS2, the final step is moving the files to your computer so you can use them with an emulator.
Step-by-Step: Move the BIOS to Your PC
Insert the USB Drive: Plug your USB flash drive into a USB port on your computer.
Find the BIOS Files: Open the USB drive and look for the BIOS files you copied from your PS2. These files usually have names like scphXXXXX.bin.
Save and Back Up: Create a new folder on your computer—name it “PS2 BIOS”. Move the BIOS files into that folder.
For extra safety, please make a backup copy and store it in another location (like an external hard drive or cloud storage).
Now you’re all set! With your PS2 BIOS safely transferred, you can use it with emulators like PCSX2 and enjoy your favourite PS2 games legally and efficiently, whether your console is modded or not.
Configuring Your Emulator with the BIOS
After successfully transferring your PS2 BIOS to your computer, you can set it up in your emulator
Follow these easy steps to get started:
1. Open Your Emulator: Launch your PS2 emulator of your choice on your computer.
2. Go to BIOS Settings: In the emulator’s menu, find the BIOS settings or configuration section.
3. Select Your BIOS File: Click on the option to browse for a BIOS file. Find the folder where you saved your dumped BIOS and select it.
4. Save and Apply Settings: Confirm your selection and save the settings. Your emulator will now use your real PS2 BIOS.
4. Test with a Game: Load a PS2 game in the emulator to make sure everything works correctly. If your BIOS is set up properly, the game should start and run smoothly.
Frequently Asked Questions (FAQs)
Is dumping my PS2 BIOS legal?
Yes, dumping PS2 BIOS is legal if you own the console. Since you are using your own hardware for personal use,
Can I use someone else’s BIOS file?
No, you should not use someone else’s PS2 BIOS file, as it is not legal, even if you don’t plan to share or sell it.
What if my PS2 doesn’t have USB ports?
If you do not find USB ports on your PS2, you are using a PS2 Slim or a specific model made without them.
How do I know if my BIOS dump was successful?
To confirm if your PS2 BIOS dump was successful, look for the file like scphXXXXXX.bin on your USB drive; this file should be around 4 MB.
Load the BIOS in an emulator of your choice, and if it appears. The game runs successfully; it’s a sign that the dump worked. If you face errors like a missing file, the dump was unsuccessful. You should repeat the dumping process
Conclusion
Dumping your PS BIOS file seems complicated at first. Still, if you follow the correct steps carefully, you can do it easily and safely. Just ensure you are using your own PS console. By dumping your own BIOS, you are following the rule and keeping the legacy of PS2 alive.

One Comment